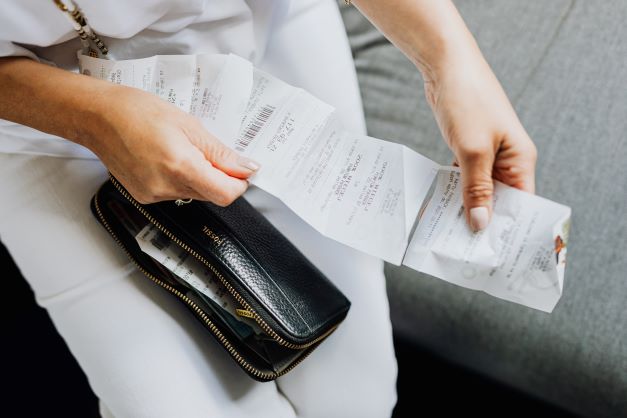
Everyone enjoys shopping for products and services. After choosing what you like and going to the billing counter one receives two items – a bill and a receipt.
Difference between bill and receipt
Whenever you purchase any item from a shop you are handed a bill for your purchase. A bill is given when an amount is owed and has to be paid.
After paying the bill you receive a receipt. If you buy from an online store or website after paying the amount online you receive a digital receipt from the store acknowledging that they have received the payment.
 A Bill
Why is a receipt needed?
A receipt acknowledges that you have received the payment from the customer. It acts like proof so that in the future if there are any issues the receipt can help solve them.
It reassures all customers that the payment gateway is safe and that the amount has been transferred.
If you are a freelancer then sending a receipt is crucial. Most freelancers overlook it and only send invoices. But receipts are as important as invoices. It reaffirms to your clients that their payments have been received.
Apart from that it also reflects the date and the mode of payment.
If receipts are not sent then clients and customers will keep asking you whether you have received the payment or not.
Getting back to each one of them is a task! So why add this unnecessary burden when a receipt can solve all your problems.
How to make a receipt?
Making a invoice or receipt on paper, MS Word, Excel sheets are very cumbersome. You need to make your template then fill in all the details and then send it to your clients.
What if I tell you that there is an easy way?
What if there was one software that could manage all your invoices and receipts?
Presenting Shimbi Invoice! An efficient, user-friendly, and quick solution to your invoicing and receipt issues.
In Shimbi Invoice, you can make and send invoices to your clients and then make receipts against those invoices in seconds.
Here are the steps how to go about it-
Steps
- STEP 1 – Sign in to your Shimbi Invoice account with your username and password.
- STEP 2 – Click on the ‘Receipt’ from top menu.
- STEP 3 – Click on the ‘New Receipt’ button on the top right corner.
- STEP 4 – Select the name of the customer you want to send a receipt.
- STEP 5 – Select the invoice number against which you want to send a receipt.
- STEP 6 – Select the mode of payment.
- STEP 7 – Send the invoice to your client!
It’s that simple.
Check out Shimbi Invoice now!
Click here to know more=>